In this tutorial, we will use the Domains.co.za Website Builder and walk you through how to add a shopping page to your website . Opening an online store is an exciting first step to growing your company and reaching a larger audience. Making an ecommerce page is vital for online product sales, regardless of whether you’re beginning from scratch or moving from a physical store. To set up your store page and prepare to display your products, follow these instructions:
This article is related to our You Tube video: Launch Your Online Store: Add a Shopping Page – Website Builder Tutorial.
TABLE OF CONTENTS
How To Add A Shopping Page In Site Builder
This tutorial assumes that you are already logged in to Site Builder via your Domains.co.za account.
Create a New Shop Page
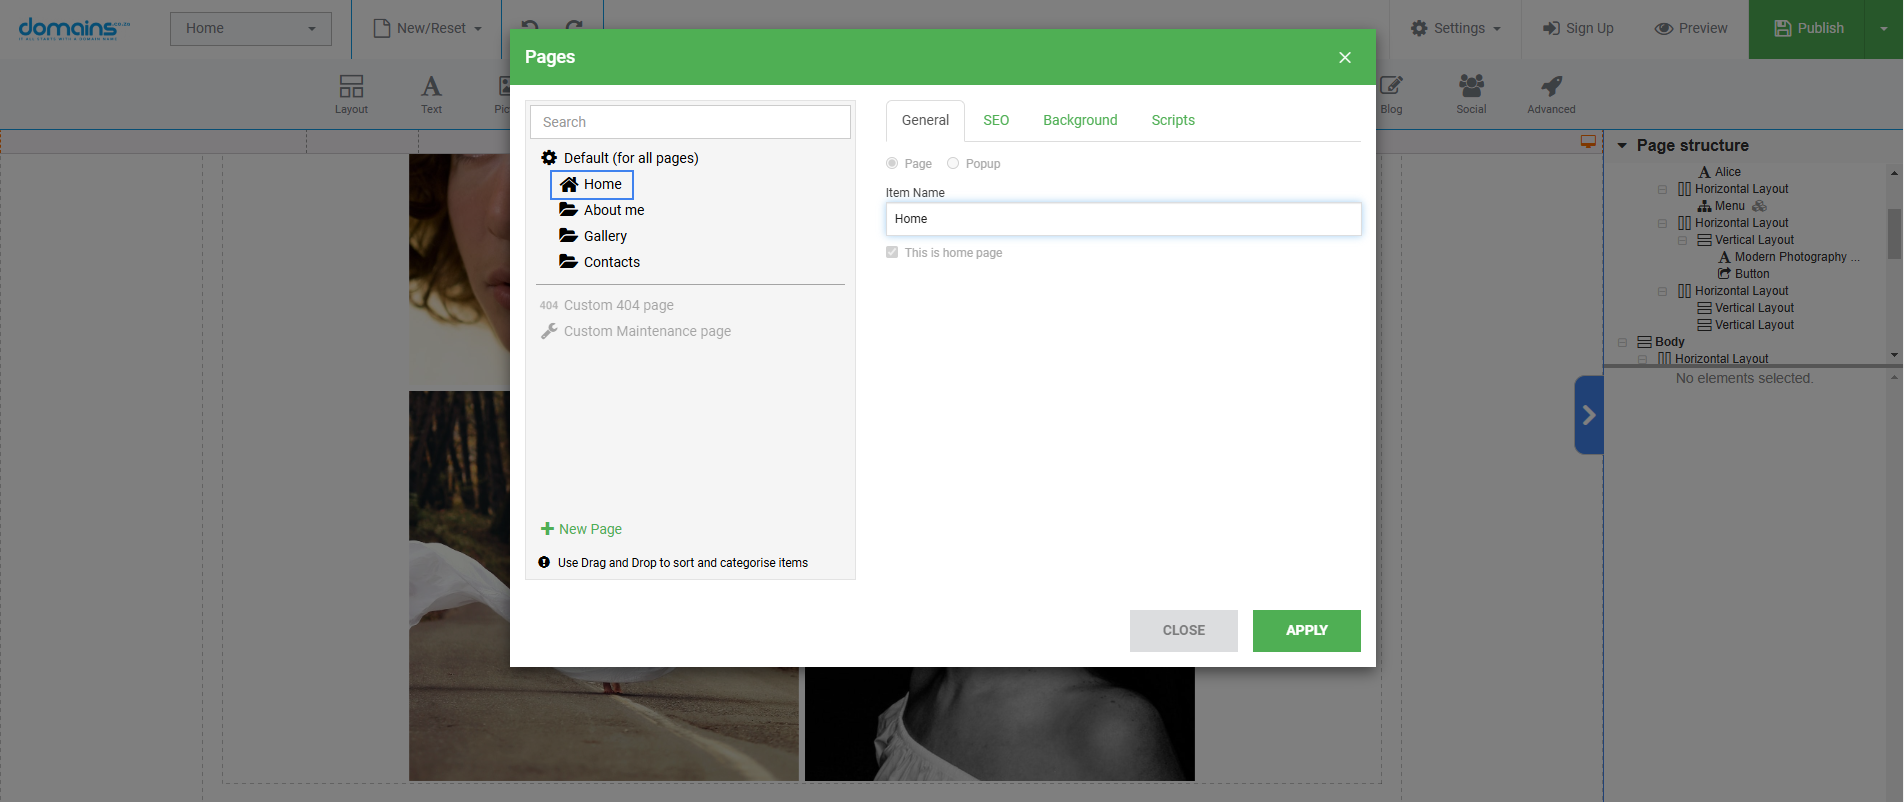
- Access Page Settings: Begin by navigating to Settings at the top of your website builder.
- Select Pages: From the dropdown menu, click Pages.
- Add New Page: Click New Page, change the name field to Shop, and copy the layout from your home page.
- Clear Body Contents: Clear the body contents box and click Apply. Do this one more time and click Apply again.

Update the Menu
- Edit Menu: Click on the menu and select Edit Menu.
- Replace Services with Shop: Replace the Services item by clicking on it, changing the name to Shop, and switching the page to the newly created Shop page.
- Rearrange Menu Items: Drag and drop the Shop page to make it the last item in the menu and click Apply to save the changes.
Customise the Shop Page
- Title for Your Page: To give the new Shop page a title, drag and drop a text element.
- Add Padding: Click on the layout and in the spacing section of the right panel, add some padding to create space.
Add Ecommerce Features
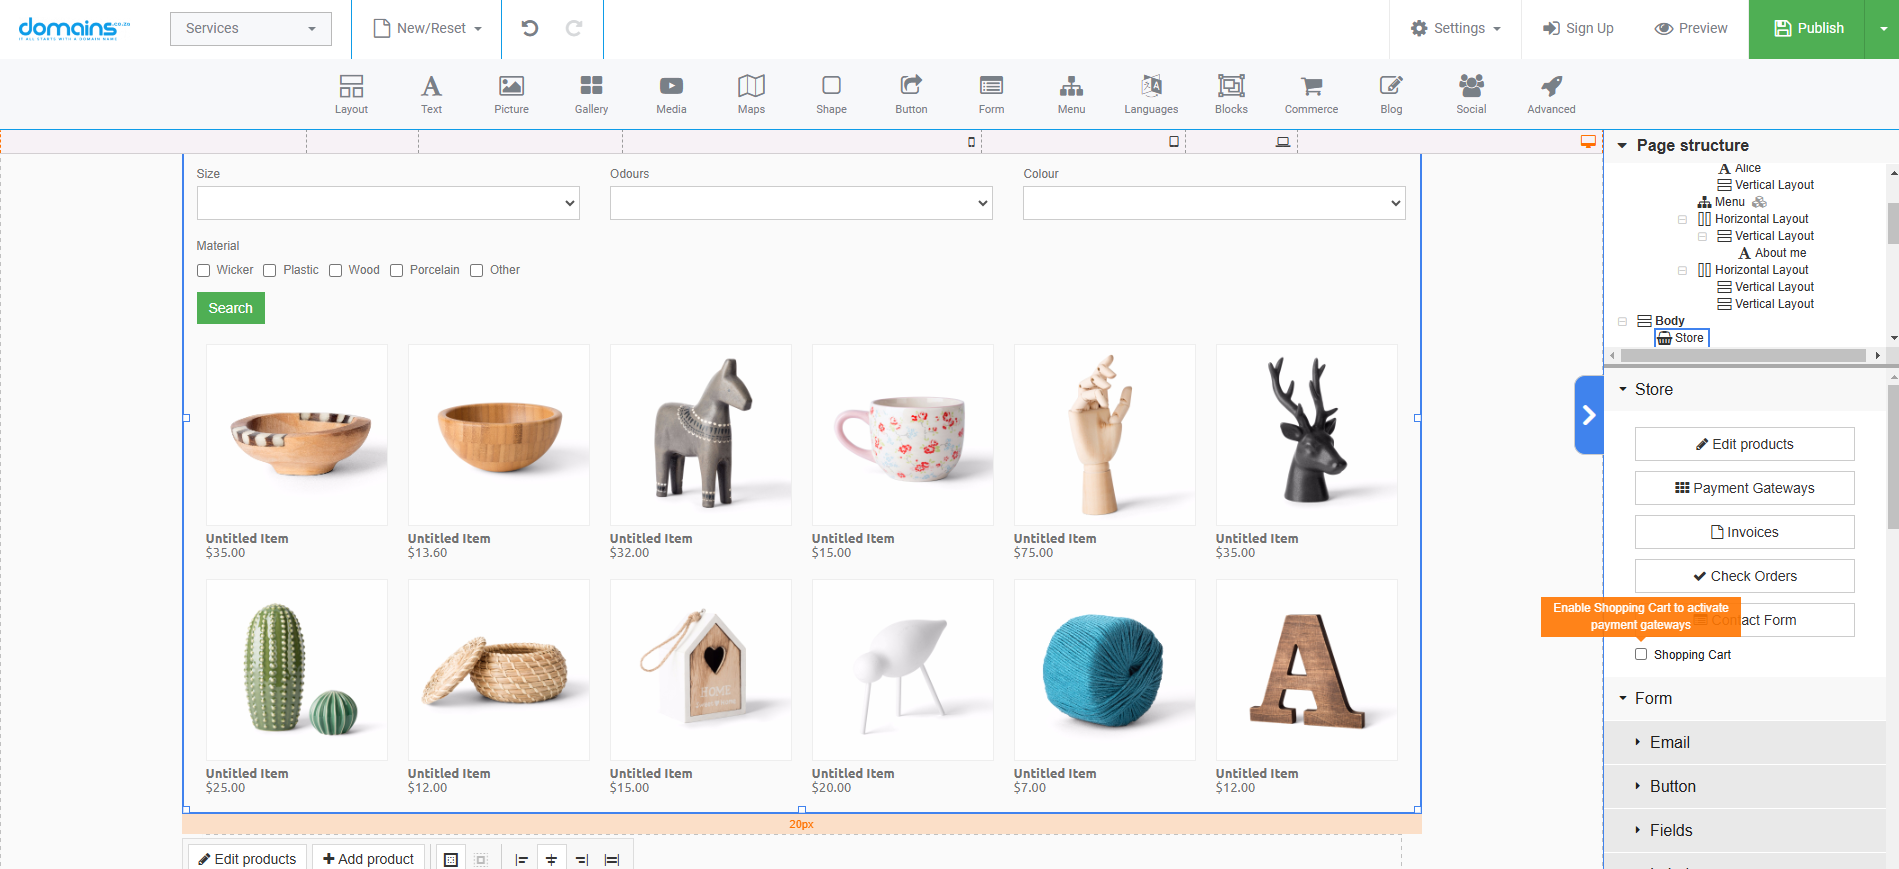
- Insert eCommerce Composition: Drag and drop the ecommerce composition from the main toolbar to your page.
- Adjust Margins: Add margins to the text in the right panel to ensure a clean layout.
- Replace Email with Shopping Cart: Remove the email element – right-click the layout and select Remove. Then, drag and drop the Commerce element from the toolbar and choose Shopping Cart.

Setup Notifications
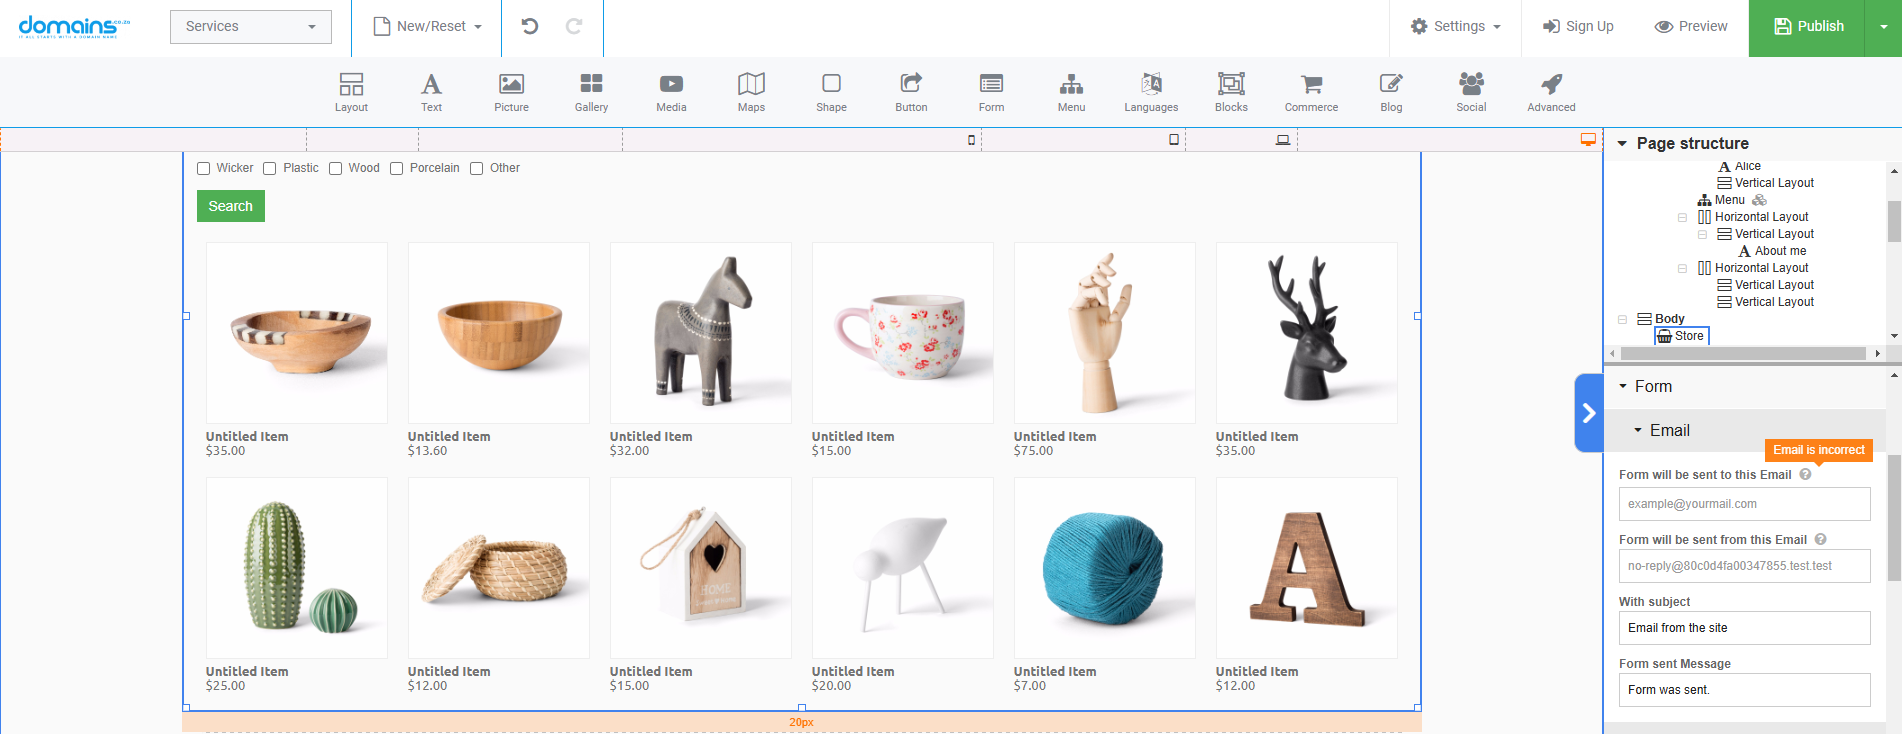
- Access Email Settings: To remain updated with your store’s activity, set up notifications. Click the pen icon next to contact form notifications.
- Enter Email Addresses: In the popup, go to Email Settings and insert your email addresses in the Receive To and Send From fields.

Final Touches
- Customise Shopping Cart Text: Change the text for the Shopping Cart text in the right panel to suit your branding.
- Set Currency: Change the currency to your preference; we use Euro in this example.
- Style the Cart: To style the cart, go to Style, click the pen icon, and set the desired colour for the shopping cart.
Save Your Changes
- Draft the Website: Once you have completed the setup, save your website as a draft to secure all your changes.
YouTube Video: Launch Your Online Store: Add a Shopping Page – Website Builder Tutorial
Additional Information
Optimising Your Shop Page
Use high-quality images and detailed product descriptions to enhance the shopping experience. Consider categorising your products to help users find what they’re looking for.
Integrate Payment Gateways
Integrate secure payment gateways like PayPal, Stripe, or credit card processing to facilitate transactions.
Mobile Responsiveness
Ensure your shop page is mobile-friendly. Test it on various devices to ensure it provides a seamless shopping experience for all users.
SEO Best Practices
Implement SEO best practices on your shop page by using relevant keywords in product descriptions, image alt tags, and meta descriptions to improve search engine visibility.
Customer Reviews
Consider adding a section for customer reviews or ratings to build trust and encourage potential buyers.
Login to Domains.co.za Account
1. Go to the Domains.co.za website Account Login page.

2. Enter your Email and Password.
3. Then click the “Sign In” button.


