This Knowledgebase article on how to migrate a website to Domains.co.za, explains everything that you need to be aware of before proceeding. Our professional Support Team is always available to assist you to migrating your website and/or emails from any other platform to Domains.co.za. Please take note of the below points and steps to help you understand how our Migration Process works.
TABLE OF CONTENTS
How to Migrate a Website to Domains.co.za
We will initially move your data to Domains.co.za, and only point or transfer your domain/s once the Migration Process has been completed. In this manner, your website and emails will always remain accessible until the completion of the process, as this may require a few days.
Your website files, databases and all current emails will be moved during this procedure. Please note however, that Cron jobs, DNS records, custom SSL configurations, and FTP accounts are not included.
Step 1: What you Need to Know
You are eligible for a free Data Migration if:
- You are currently hosted with another hosting provider other than Domains.co.za.
- You are using a website built with an open-source CMS, such as WordPress, Joomla, etc.
Please Note:
- Websites created with custom builders like Blogger, Canva, Google Sites, Shopify, Squarespace, Wix, and others, cannot be migrated. If this is your current situation, you will need to re-create your website – Domains.co.za Website Builder is an excellent tool for this task. Please contact our Support Team should you have any queries regarding the above and they will be able to advise you accordingly.
- Emails that are hosted with Microsoft 365, Google Workspace (G-Suite), Telkom and Mimecast cannot be migrated.
- There also needs to be adequate disk space available for the move. This is usually double the space of the actual hosted data, to accommodate the migrated .zip files and then the actual data extraction from those .zip files.
During the Migration Process it is Also Advised to:
- Turn off all anti-bot verifications and two-factor authentications that may be on your current hosting account and website admin page.
- Please ensure that your current hosting has adequate free disk space to allow for backups to be generated during the Data Migration Process.
Step 2: Preparing for the Migration
Once you have verified that your website meets the above necessary requirements, please confirm that you have an active Hosting plan with Domains.co.za, or sign up for a new plan with a minimum of one additional domain, then you are ready to migrate a website.
Please contact our Support Team for assistance with activating a suitable package for you, or of you are doing Bulk Domain Transfers, or for assistance in what is required for a domain to be transferred. With an active Hosting package in place, you will be able to then request a Migration.
Step 3: Initiating the Migration
To access the Migration Form, use one of the following methods:
- Access the “Websites” section on your Domains.co.za Control Panel, and click on “Add Website”.
- If you have various Hosting plans, you can add, or migrate, a website by clicking the button. After that, a Hosting plan selection screen will appear for your moved website.
- You can choose between any of our plans: Web Hosting, cPanel Hosting or WordPress Hosting.
- Alternatively, you can select “Migrate Website” by clicking the profile icon, and then click “Add Request”.

Step 4: Complete the Migration Request
To finalise the Migration Request:
- Type in the domain or subdomain name of the website you wish to migrate.
- Do the same for a WordPress-based website (this will automatically be detected). If not, you are free to choose the platform, you can also opt for WordPress Hosting for a WordPress site, Web Hosting, or cPanel Web Hosting plan as mentioned above.
- Once you’ve submitted it, you will be asked to verify the Status of the Website Migration Request.
Step 5: Pointing to Domains.co.za
An Email Notification will be sent to you upon completion of the Migration. To ensure that everything is in order, you can use the IP address of your Hosting plan and the DNS Tool.
IMPORTANT:
To avoid lengthy disruptions, don’t forget to point your domain to Domains.co.za servers after a successful move.

Exact Steps on How to Migrate a WordPress Website to Another Domain or Server
If you are wanting to do the migration yourself, we would highly recommend following our procedure below. Please note the this example references a WordPress website as an example:
Part 1: Precursor to Migrating a Domain’s Folders & Files
NOTE:
These steps start for existing Domains.co.za clients, should you be a new client migrating from any other service provider, please follow from Step 5 – after you have logged in to your cPanel Dashboard. Thank you.
1. Login to your Domains.co.za Account

2. Under Manage Services, select WordPress Hosting from the dropdown menu.

3. Select the Domain to migrate and click Manage.
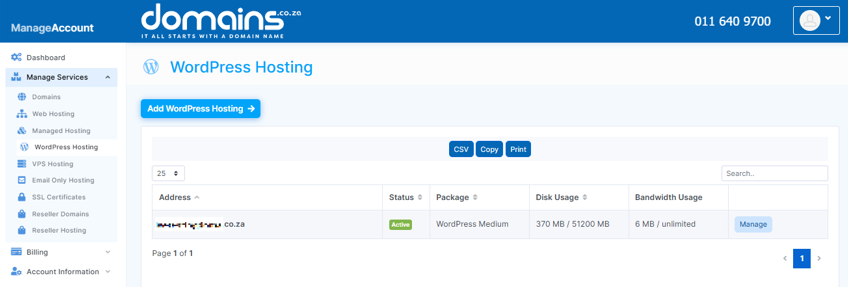
4. Click Login next to Control Panel – cPanel.

5. In the cPanel Dashboard, scroll down to the Files section and select File Manager a new browser tab will open to the right of your account tab.

6. Click Settings and tick the Show Hidden Files (dotfiles) checkbox from the Preferences window and Save.

Part 2: Download the Migrating Domain’s ETC Folder & Files
7. Select the etc Folder and double-click the Domain Name Folder. (This will be the domain name to be migrated.)

8. Click Select All and then the Compress icon on the top menu.

9. Select Zip Archive – scroll down to Enter the name of the compressed archive and change the file name to etc, then click Compress Files.
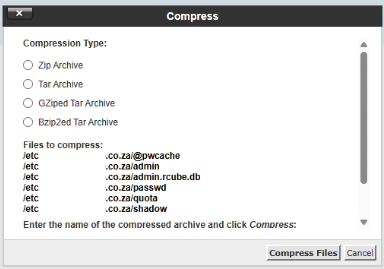
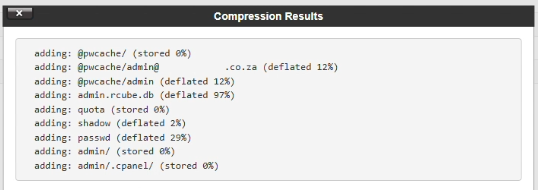
10. The Compression Results will display in the window, click Close.
11. Right click the .zip File and download to your Local Drive.
IMPORTANT:
Please ensure that each zip file is named correctly, example “etc” in this case.
Part 3: Download the MAIL Folder
12. Next select the mail Folder and double-click the migrating Domain’s Folder.
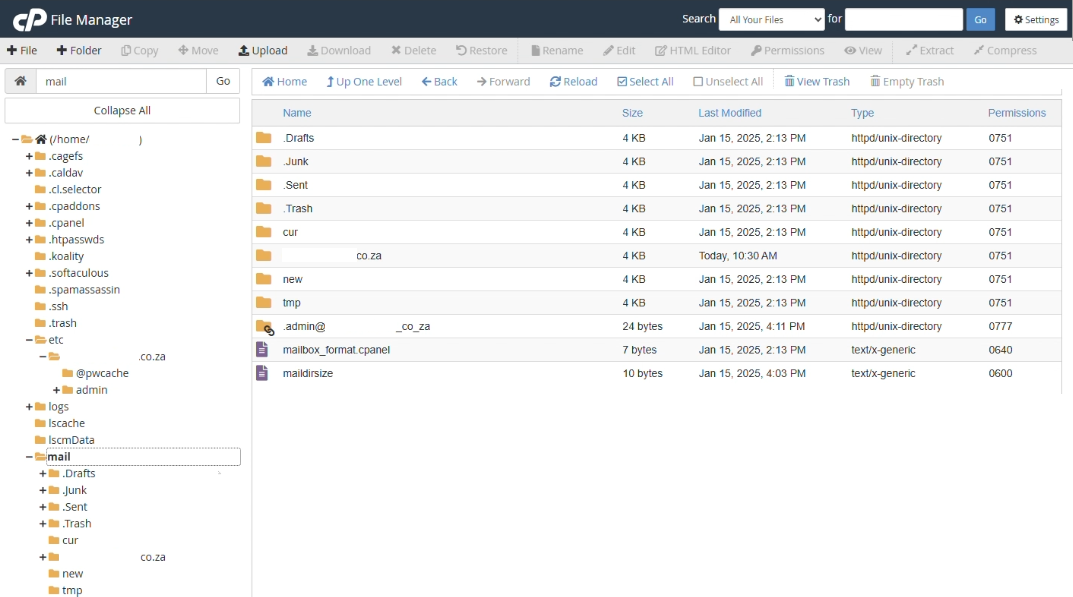
13. Right click on the Admin Folder – select Compress, select Zip Archive. Under Enter the name of the compressed archive, change the name to mail, then click Compress Files.
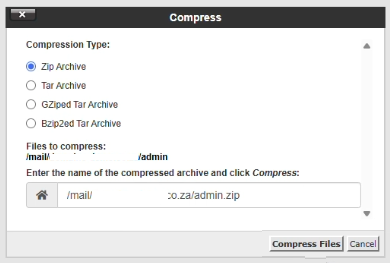
14. Download the new zip file to your Local Drive
Part 4: Download the PUBLIC_HTML Folder
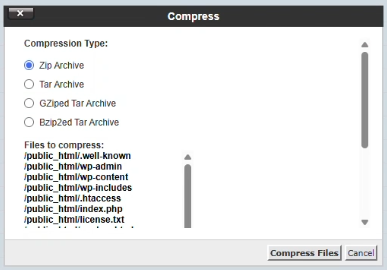
15. Select the public_html Folder, click Select All, select Compress, select Zip Archive.
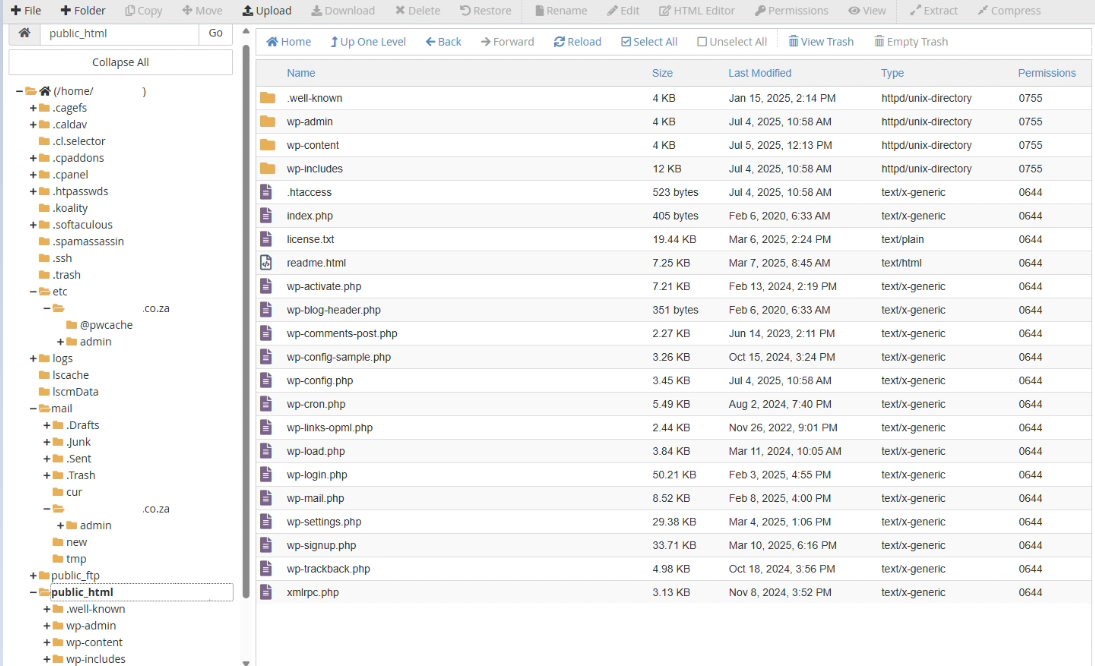
16. Under Enter the name of the compressed archive, change the name to public, then click Compress Files. Download the saved zip file to your Local Drive.
Part 5: Copy the Database Name from the WP-CONFIG.PHP File
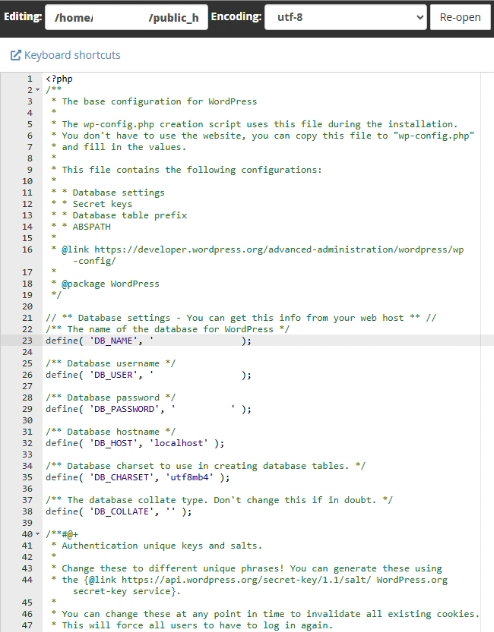
17. Now right click the wp-config.php File in the public_html Folder and select Edit. Click the Edit button in the pop-up window.
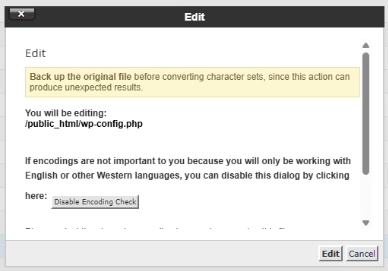
18. Copy the Database Name and paste it into Notepad, Notepad++, or a .txt document to access later.
Part 6: Export the Database
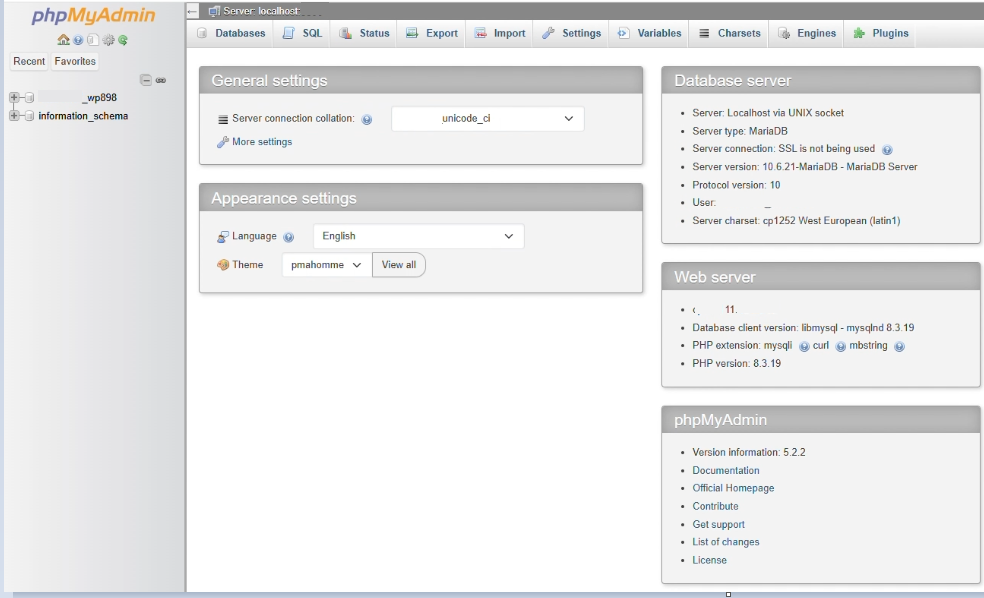
19. Select the cPanel Dashboard browser tab and in the Databases section, click phpMyAdmin.

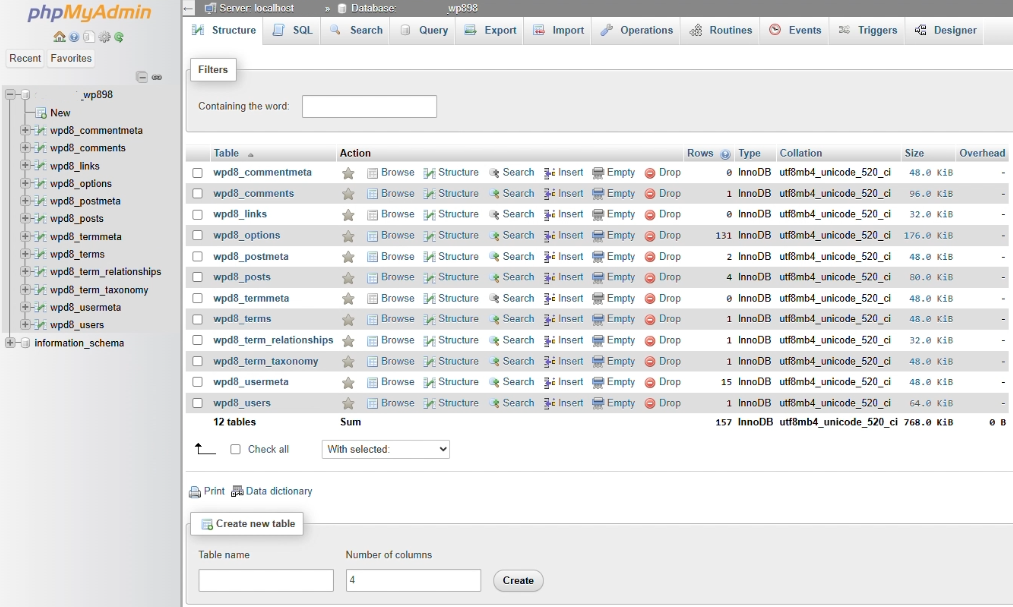
20. Click the Database Name on the left.
21. Click the Export icon.
22. Leave the default Format as SQL.
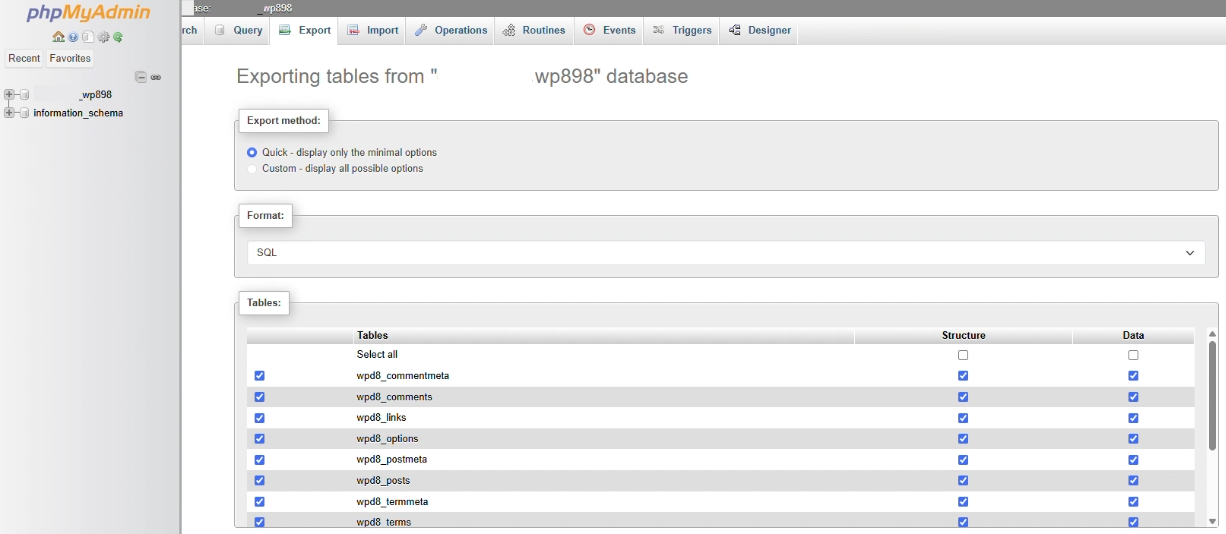
23. Click the Export button.

Part 7: Installing the .ZIP Files to the New Domain or Server
24. Repeat steps 1-5 to login to cPanel from your Domains.co.za Dashboard, selecting the domain you want to migrate to (example used is WordPress Hosting).
25. In the cPanel Dashboard, scroll down to Files and select File Manager.

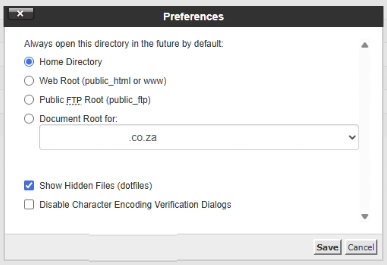
26. Click Settings and tick Show Hidden Files (dotfiles) in Preferences and Save.
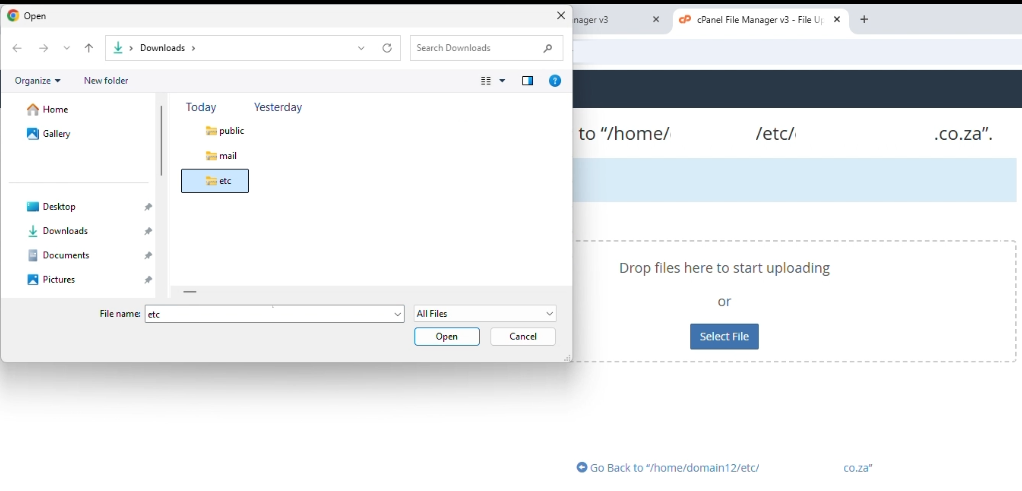
27. Select the etc Folder and the Domain Name Folder (e.g. etc/yourDomain) – click the Upload icon.

28. Select the ETC .zip File Downloaded (refer Part 2 above) and click Open.
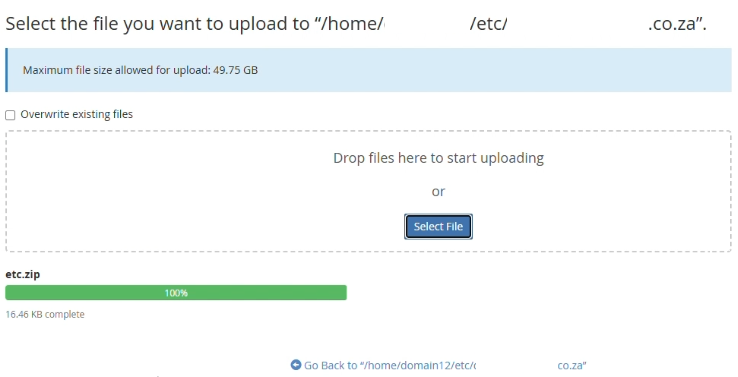
29. When the file has uploaded, click the Go Back button.
30. Right click the etc.zip File, select Extract, or select the etc.zip File and click Extract in the top menu.
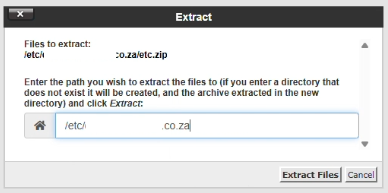
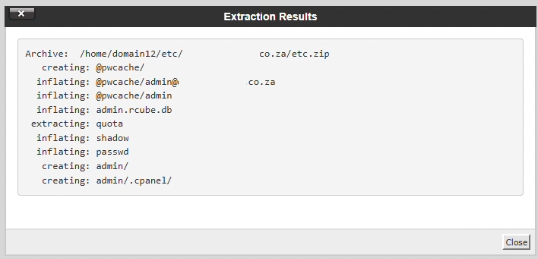
31. Click the Extract Files button in the pop-up window. Click Close in the Extraction Results dialogue box.
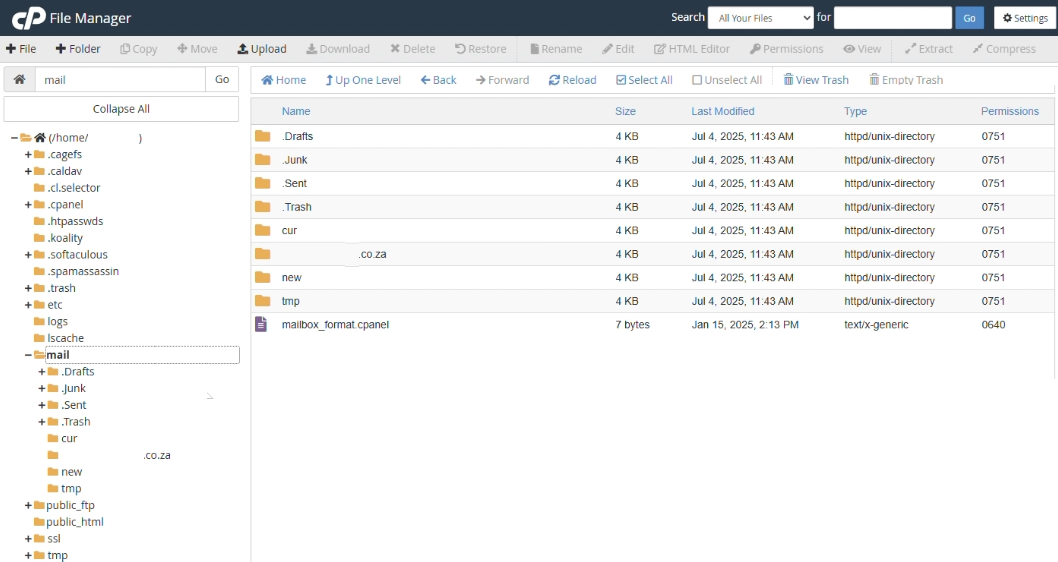
32. Select the mail Folder and the Domain Name Folder (e.g. mail/yourDomain) and repeat the above process with the mail.zip File.
33. Next follow the same process for the public_html.zip Folder.
Part 8: Creating a Database for the New Domain or Server
34. Select the cPanel dashboard browser tab and under Databases, click Database Wizard.

35. Copy and paste the Database Name that was saved to Notepad in Step 17 above and click Next Step.

36. In Create Database User, enter a Username and Save it to Notepad to access later.
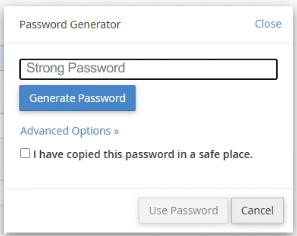
37. Click Password Generator and save the Password to Notepad.

38. Click the checkbox for: I have copied the password to a safe place and click Use Password.
39. Click Create User.
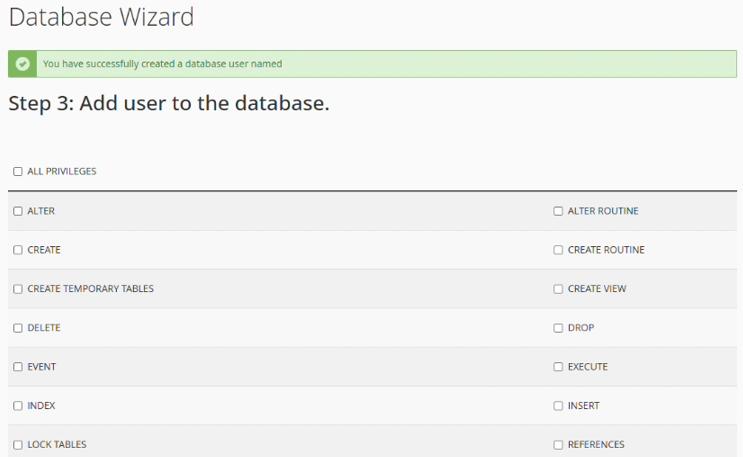
40. Tick the ALL PRIVILEGES checkbox – click Make Changes.
41. Click Return Home.

Part 9: Importing the Database to the New Domain or Server
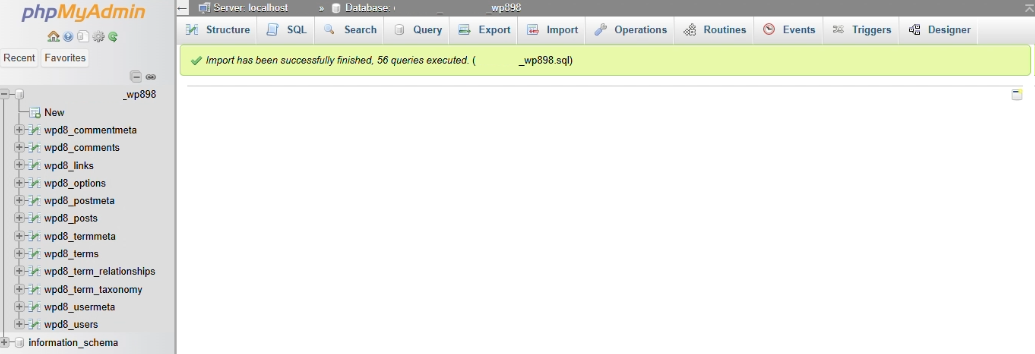
42. In cPanel under Databases, click phpMyAdmin – select the Database.

43. Click Import

44. Click Choose File and select the Database.zap File downloaded in Part 6 above and click Import.
Part 10: Editing the WP-CONFIG.PHP File with the New Database Details
45. In cPanel Dashboard navigate to Files and select File Manager.
46. Click on public_html Folder in the left menu – select and right-click the wp-config.php File and select Edit.
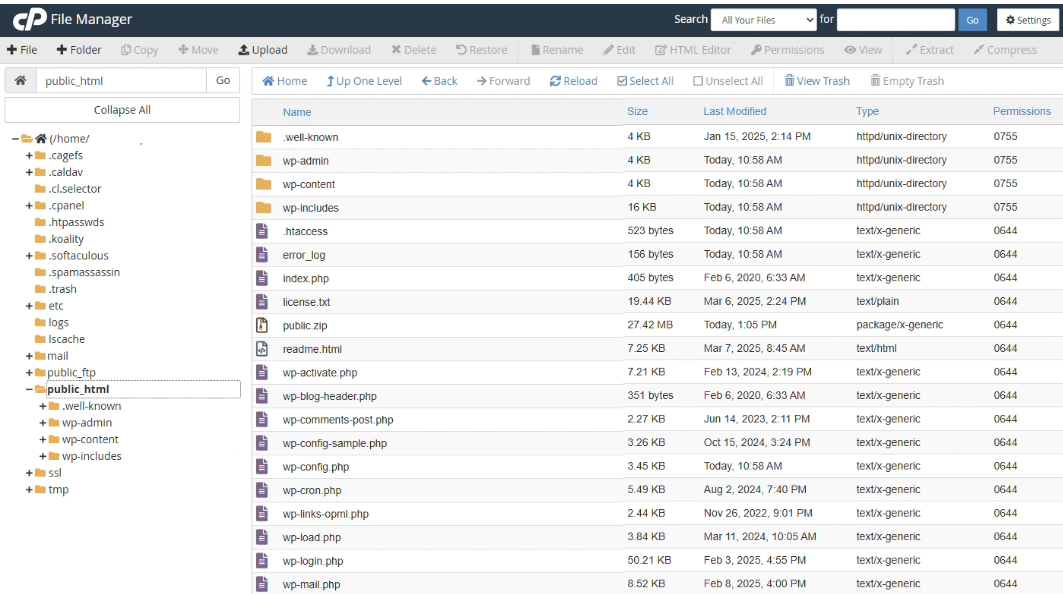
47. Click Edit

48. Update the DB_NAME, DB_USER and DB_PASSWORD with the new details saved to the Notepad document.

49. Click on Save Changes.
You have successfully migrated your website across to your new domain or server.
Video Tutorial: Step by Step on How to Migrate Your Website to Domains.co.za
VIDEO: How to Migrate Your Website to Domains.co.za – Step-by-Step Tutorial


