





After installing an SSL certificate and enabling HTTPS, your website should load securely without browser warnings. However, you may still encounter a mixed-content warning if some resources on your website, such as images, stylesheets, JavaScript files, or other content, continue to load over an insecure HTTP connection.
Mixed content occurs when a secure HTTPS webpage requests resources using HTTP instead of HTTPS. Modern web browsers treat this as a security risk and may display a warning or block the insecure content from loading correctly.
Most mixed-content warnings occur after migrating a website from HTTP to HTTPS or installing an SSL certificate without updating the existing website links.
In most cases, resolving mixed-content warnings simply requires updating all website links from HTTP to HTTPS. If your website uses WordPress, the Really Simple Security plugin (formerly Really Simple SSL) can automate this process by updating your site’s URLs to use HTTPS.
IMPORTANT:
Before making changes to your website files or database, it is recommended that you create a full website backup.
TABLE OF CONTENTS
Before You Begin
Before fixing mixed-content warnings, ensure that:
- A valid SSL certificate has been installed on your domain.
- Your website loads successfully using https://.
- You have access to your Domains.co.za Customer Portal.
- You have created a recent backup of your website.
How to Fix Mixed-Content Warnings
Step 1: Access cPanel
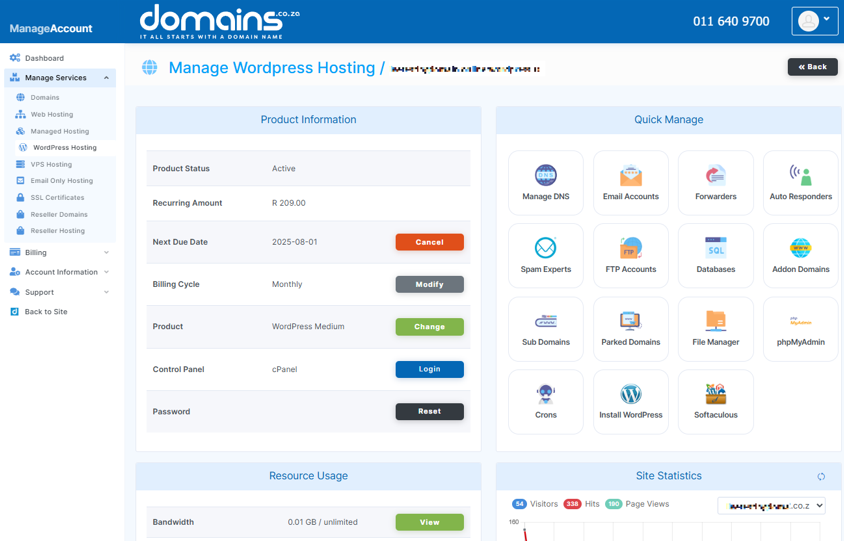
1. Login to your Domains.co.za Customer Portal using your username and password.
2. Open the Manage Services drop-down menu.
3. Select Web Hosting.
4. Click Manage next to the hosting package associated with your domain.
5. Click Login next to Control Panel to access cPanel.
Step 2: Confirm That HTTPS Is Working
1. Open your website using:
2. Verify that the website loads.
3. Check whether your browser displays a padlock icon or a security warning.
If the website displays a mixed-content warning, continue with the following steps.
Step 3: Update HTTP Links
If your website is built with WordPress, you can simplify the process by installing the Really Simple Security plugin (previously known as Really Simple SSL).
The plugin automatically helps:
- Detect mixed-content issues.
- Update HTTP links to HTTPS.
- Configure your WordPress website to use HTTPS correctly.
Using the plugin is often the quickest way to resolve mixed-content warnings on WordPress websites.
Troubleshooting
My Website Still Shows a Mixed-Content Warning
Check that all website links have been updated from HTTP to HTTPS. If your website is built with WordPress, install or configure the Really Simple Security plugin to automatically correct mixed-content issues.
Images Are Missing
The image URLs may still reference HTTP. Update the image paths and clear your website cache.
CSS or JavaScript Is Not Loading
Check your theme and plugin configuration for hard-coded HTTP resource links.
The Padlock Icon Does Not Appear
Verify that every page resource is being served over HTTPS. Even one insecure file can prevent the browser from displaying a secure connection.
Clear your browser cache, website cache, and any CDN cache before testing again.
Additional Information
- Mixed-content warnings occur when an HTTPS webpage loads one or more resources over an unsecured HTTP connection.
- The most common solution is to update all website links from HTTP to HTTPS.
- WordPress users can use the Really Simple Security plugin to automatically resolve most mixed-content warnings.
- Really Simple Security was previously known as Really Simple SSL.
- Websites built using custom code may require a web developer to manually update hard-coded links.
- Resolving mixed-content warnings helps ensure visitors receive a fully secure HTTPS connection and prevents browser security warnings.
- After updating your website, always test several pages to confirm the browser displays the secure padlock icon.
- If mixed-content warnings continue after updating your links, contact the Domains.co.za Support team for further assistance.
Login to Domains.co.za Account
1. Go to the Domains.co.za website Account Login page.

2. Enter your Email and Password and click the Sign In button.
3. You will see the Domains.co.za Dashboard, displaying the Manage Account menu on the left and your Account Information, Account Overview and Open Support Tickets on the right.


